Growing your own food is one of the best ways to take control of your diet and improve your physical and mental health. It’s also a great way to save money. Growing food in your yard or garden can be fun, rewarding, and easy.
If you don’t have a gardening space, Don’t worry read our article about Smart Indoor Greenhouse – A walkthrough
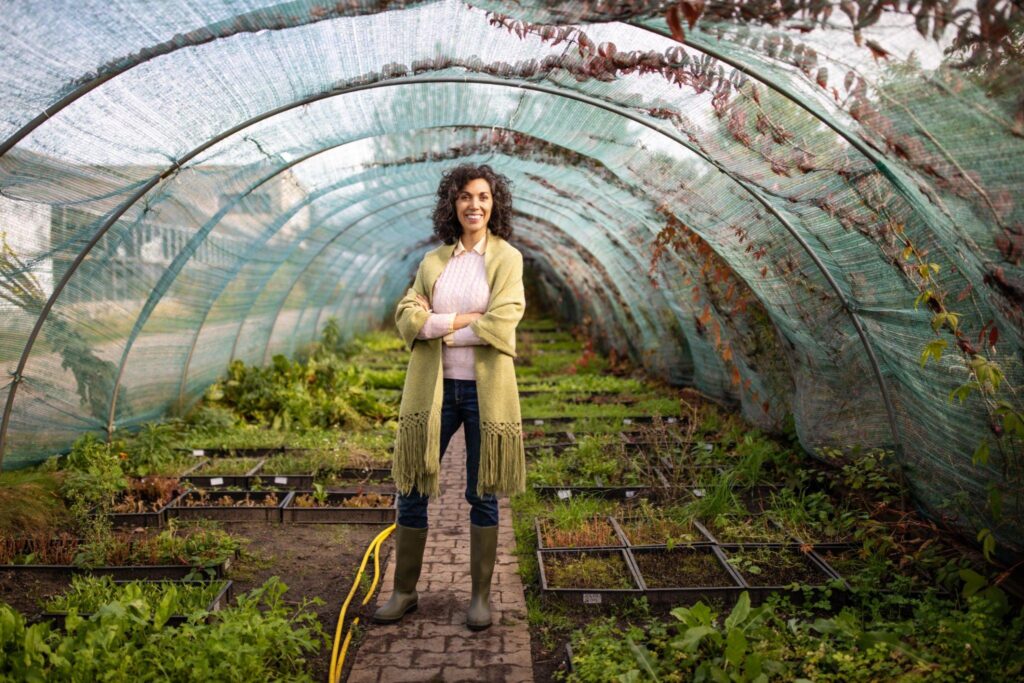
Start with Vegetables
Vegetables are the most important part of any garden, as they provide us with a large number of nutrients. They are also easy to grow and have many different types that taste great.
There are thousands of vegetable varieties that you can try growing in your yard or garden.
Grow what you can eat.
There are plenty of reasons to grow food in your yard. It’s fun, it saves money and time, and the end result is delicious. But if you want to be successful at growing food for yourself or for others you need some basic pointers.
- Choose crops that are easy to grow. You don’t want to waste your time or money on a crop that is difficult for you and even if the plant does well initially but there might be problems later when it needs change like when pest attacks.
- Plant a variety of crops so that no matter how bad things get during harvest season there will still be something useful waiting in your garden beds. This also helps ensure that none of them become diseased either which could lead directly to having less income than expected due to lossiness caused by illness among workers responsible for harvesting each type individually instead of collectively as most other types would do normally.
Start with seeds or seedlings.
The most common way to get started with seeds and seedlings is to start them indoors. There are a few things that you’ll need in order for this process to work:
- Seeds or cuttings (grown from seeds) of your chosen plant, kept at room temperature with good airflow and humidity.
- A clean plastic container that is large enough for the root ball of your seedling the part of the plant where it attaches itself securely into the soil to grow comfortably. This should be about 1-2 inches deep at its deepest point, 2-3 inches wide across its widest part (the top). This container will also need ventilation holes so that air can circulate around it freely while still keeping out pests like ants or mice who might want to eat up your precious crops before they produce fruit.
Choose your growing spot.
The first thing you’ll want to do is choose a sunny area of the yard or garden that gets plenty of sunlight. This will help ensure that your plants will grow well and produce plenty of food for you and your family. You should also keep in mind where other plants are located on the property, as well as any trees or buildings that are nearby. It’s best if there isn’t another house or building close by either. This way, you won’t have to worry about neighbors stealing your crop when they see it out in full bloom. Finally, try not to put it too close to the street. Because if someone accidentally trips over one of those weeds while walking around town then all sorts of problems could arise from their mishap.
Keep it well-watered.
- Water your plants regularly.
- If you don’t have a water-efficient sprinkler system, use a hose or watering can and make sure the soil is moist all over, but not soggy.
- When watering, aim for an even distribution of moisture throughout the soil surface so all parts of your plant are getting enough moisture at all times.
Fertilize as needed.
Fertilizing your lawn or garden is a good idea if you want to grow healthy plants, but it’s not necessary for every type of plant. Organic fertilizers are preferable because they are less harmful to the environment than chemical fertilizers. Because chemical fertilizers can leech into groundwater and contaminate groundwater supplies. Organic fertilizer should be applied according to package instructions. This will vary depending on what kind of soil you have and how much sunlight your area gets during different times of year. If there aren’t any specific instructions on the product label, follow these general guidelines.
- Spring and summer: Apply 1 cup per 1,000 square feet once spring has arrived or when temperatures begin warming up significantly. This will help establish a healthy root system for newly planted seeds or transplants by providing them with nutrients needed during the germination stage before they can absorb enough nutrients all at once after being planted deeper into the soil where sunlight doesn’t reach them directly anymore since wintertime has passed already!
- Fall & winter: Apply 1/2 cup per 1000 square feet once fall has come around again so long as leaves aren’t dead yet which means we still need some extra nutrition floating around inside our bodies just in case something happens along those lines down the road.
Control bugs naturally.
You can use companion plants to control pests. For example, if you have garlic growing in your garden and the bugs like to eat it, plant onions around it so they won’t bother with the garlic.
Diatomaceous earth is a natural alternative to chemical insecticides that kills insects on contact by breaking down their exoskeleton and preventing them from growing feathers or wings. Use only pure diatomaceous earth (not spray) on leaves, stems, and flowers where it won’t come into direct contact with the plant itself, and avoid using deactivated forms of this product that contain pesticides or other chemicals during planting season because these may harm you as well as any future crops. To apply diatomaceous earth effectively. Sprinkle some over each area where pests are present, wait at least 20 minutes before watering again, and check regularly for dead insects until all signs are gone.
Garden in layers.
This means that you plant your vegetables and herbs at a certain depth, then add more soil as needed. The goal is to create a healthy ecosystem for your plants that prevents them from becoming overwatered or too dry during hot spells.
You’ll want to start by planting some of your vegetables first (usually tomatoes, peppers, or cucumbers). Then add some compost or aged manure on top of those roots before planting any seeds or bulbs. This will provide nutrients and moisture while they’re getting established in their new home. Finally, cover up all but one inch of soil around each seedling with mulch so they don’t get too much sun exposure.
If you follow these simple steps, soon you’ll be harvesting your own fresh fruits and vegetables for the table
You may not be able to grow your own food in the middle of winter, but that doesn’t mean you can’t start growing some vegetables. Even if it’s just a few tomatoes or lettuce plants, it’ll still make great use of your space and give you fresh produce throughout the summer season.
If you decide to go this route, here are some tips for getting started:
- Start small, don’t buy an acre of land just yet. If you have a balcony or patio where there’s room for planting pots and containers, then by all means go for it. You can grow herbs indoors too (like basil) if they’re not frost-hardy enough outside in colder climates. Just remember that anything planted outdoors will take longer before producing fruit/vegetables than those grown inside because they need sunlight as well as moisture levels between 40–50% during their growth cycle so don’t forget about watering regularly and fertilizing occasionally too.
- Don’t forget about pests like slugs which love eating away at leaves so watch out when weeding around these areas where we might find them lurking near our bedsides waiting patiently until we get closer enough so that they can crawl right up onto us.
Conclusion
So there you have it, a quick and easy guide to growing food in your yard or garden. It doesn’t take much time or effort but the rewards are well worth it. So go out and plant some seeds, water them every day, pick any weeds that come up, and keep them under control with natural methods like this one. The best thing is that once you get started with this kind of gardening technique there’s no end to what can be grown. So start small.